25+247 = 272 hours
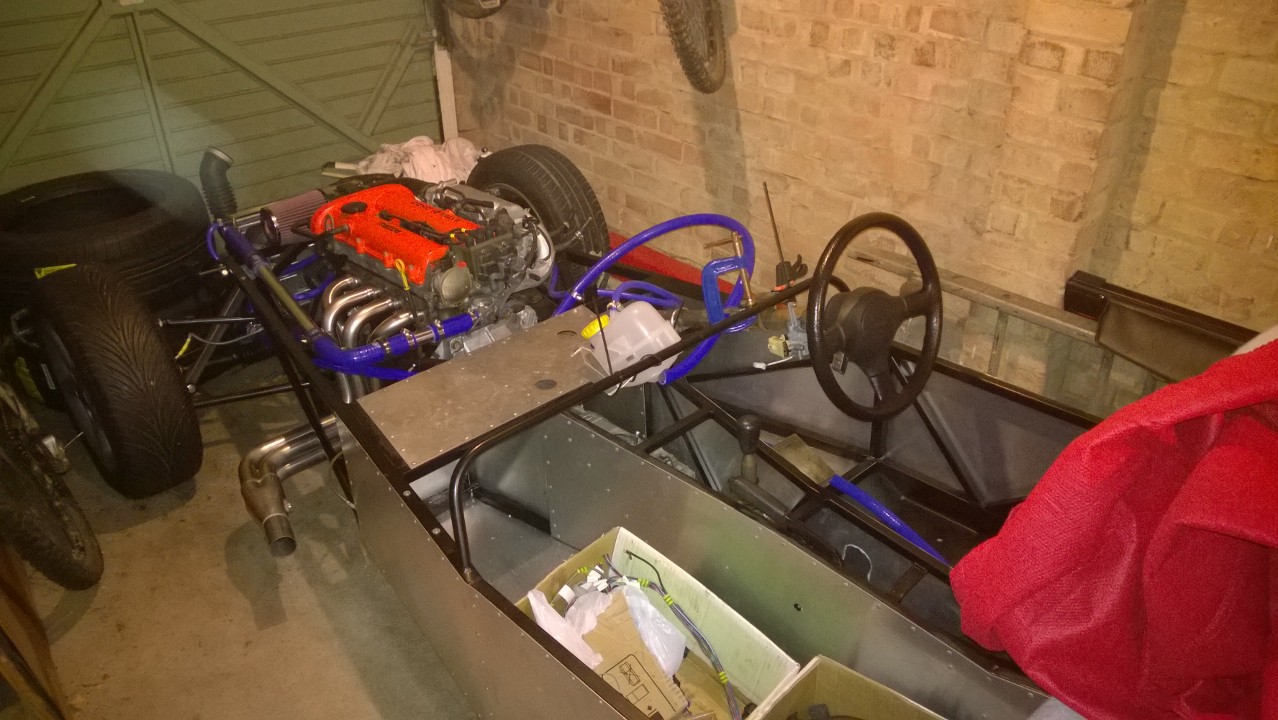
Yes, me again, lunchtime, quick post. Sorry, another couple of months and no update to the blog, but there has been progress in the background, not a lot as ever, but a solid couple of hours a week makes a (albeit small) difference.
A few main activities in this time, the odd noddy job (washer bottle), steering column done and fuel system nearly finished.
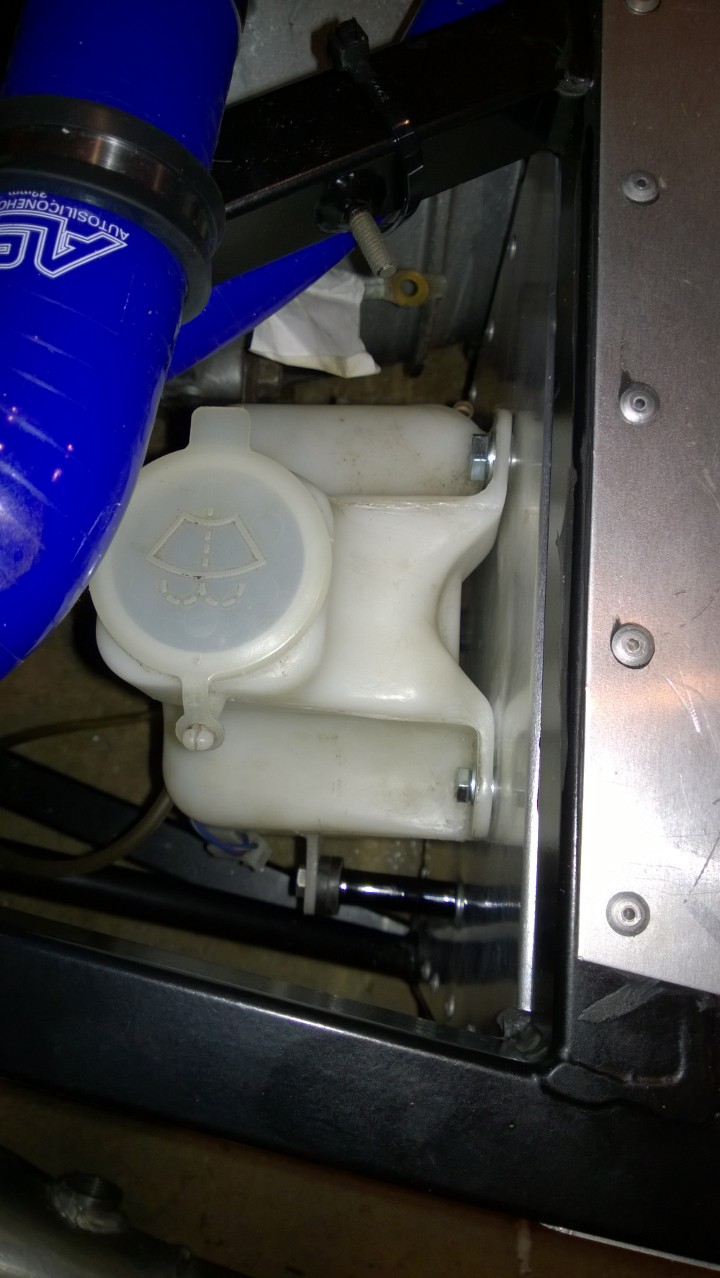
Washer bottle was a pretty easy one, it has three holes for fixing, which are not attached into rivnuts into the passenger footwell/bulkhead. With the aid of a long bolt and a spacer (M6 I recall) this is now on and pretty solid- needless to say it’s a tight fit, but the engine bay is getting more and more rammed – I guess this will only continue.
Steering was fun, the end result is I’ve a steering wheel and the wheels turn when it rotates – for any car you take this as a given, but having put the steering system together it’s quite a nice lesson in learning and satisfying.
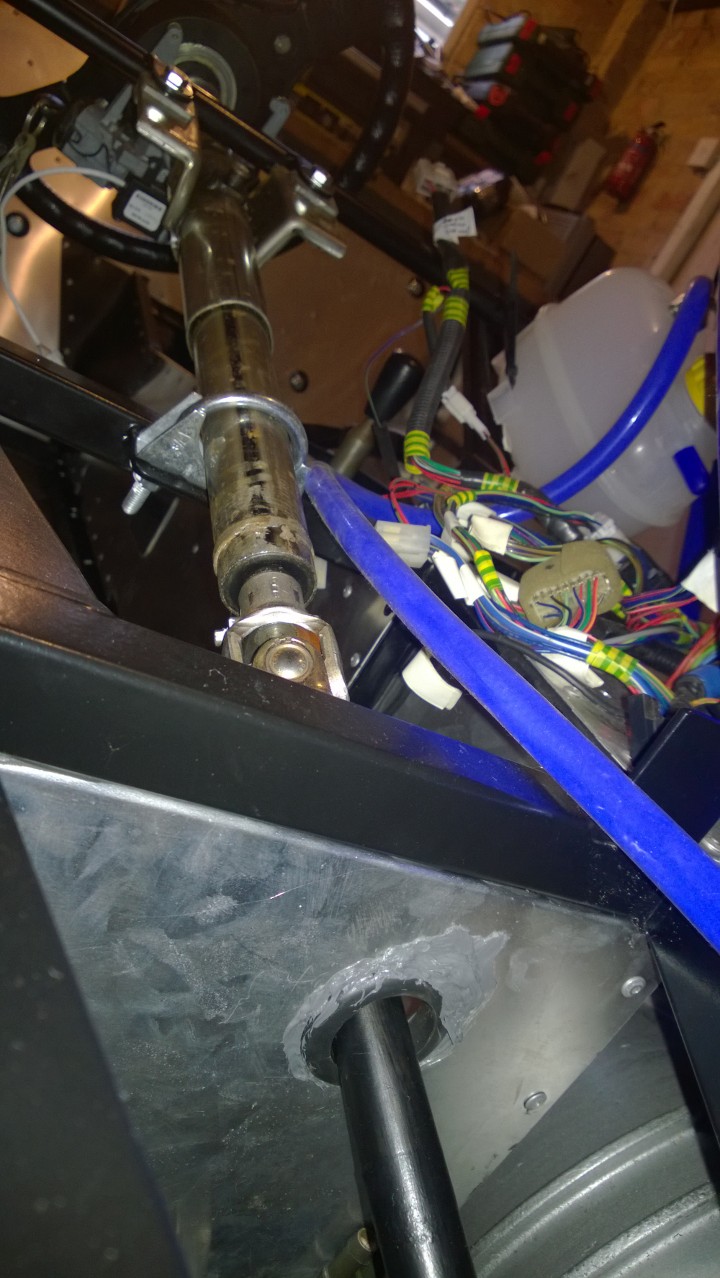
As many SDV builders have called out it’s best to measure the distance between the male splined end on the top column with the female end on the lower column to get the most accurate fit – I did provide mine to the mm, but when it came back it was about 5 mm out – I have no idea how they weld these so maybe that’s acceptable tolerances, either way, with a little wiggle and the play in the universal joints it all slotted together.
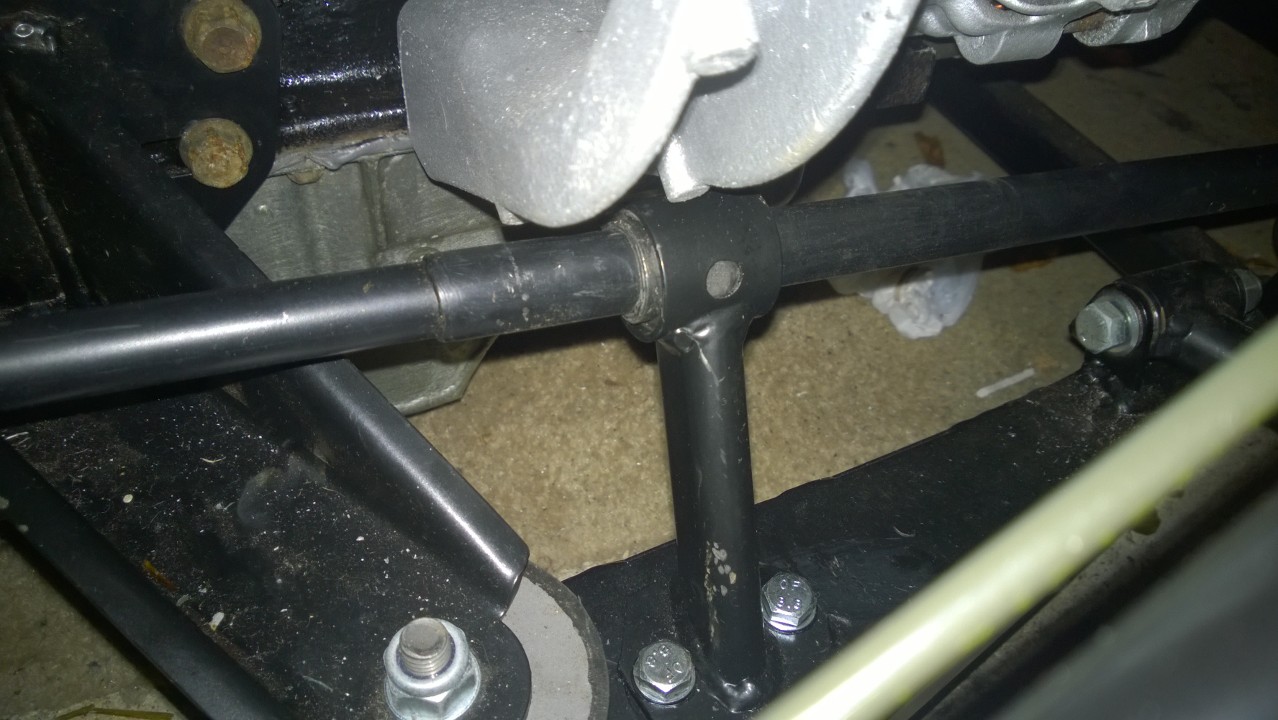
The bracket that holds the lower column in place was pretty straight forward too, ensuring to insert the sleeve – does make me wonder if that’ll wear? and it just about misses the inlet manifold bracket on the engine with about 5mm to play with – so hoping neither will move that much it’ll cause an issue.
The only slight bit of fun was the hole in the bulkhead for the middle column, even with a spline at one end (so didn’t need to open it up massive) it was near impossible to get this accurate – especially with the measurements in the manual 😉
I’ve ended up with a rubber grommet and some sealant on the part of the hole that’s not covered by this, the more sealant I needed to use the less I liked that solution so will probably use some rubber channel edging around the oval hole in the panel – amazingly the “car builder solutions” catalog had this solution in a picture – so I’ll steal it, creativity is not my bag.
After this achievement I’ve moved on to fuel, starting with the tank, which was a bit of a pleasure to fit, as per the manual, foam tape on the chassis and tank straps, drill some holes in the straps to line up with the rivnuts, on it went, quite a nice fit when lined up left to right.
Fuel pump and filter were next.
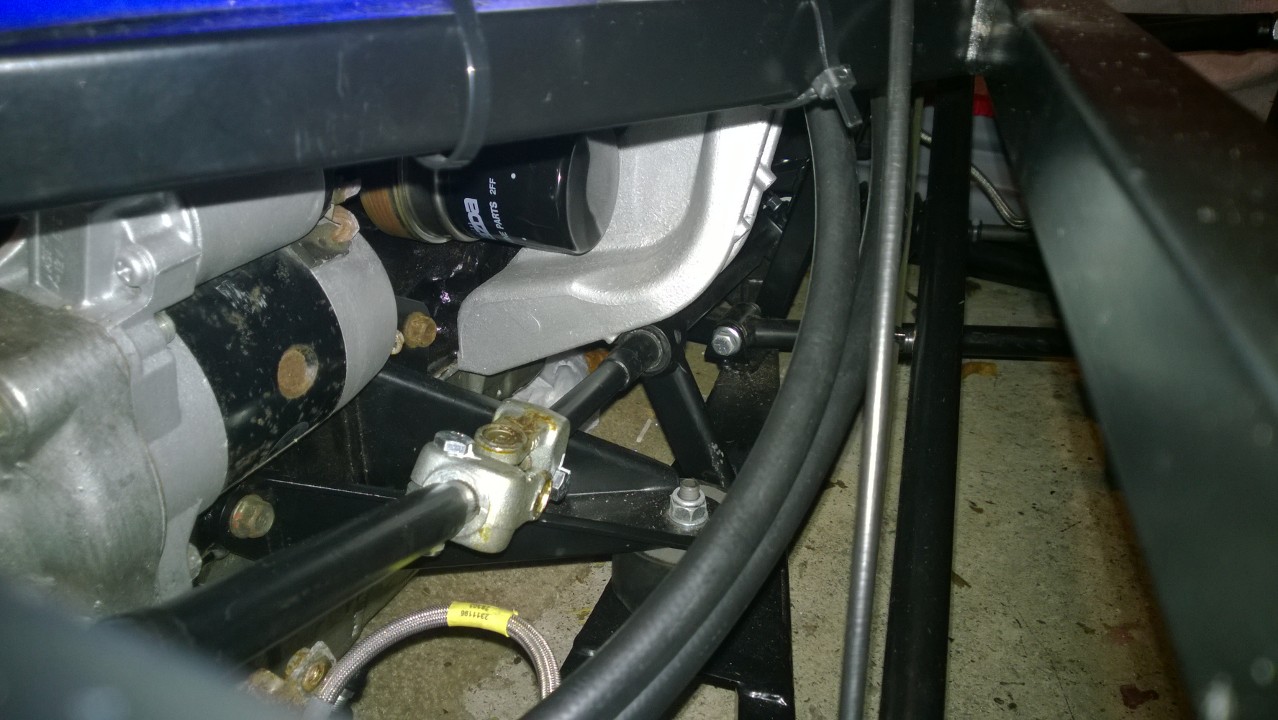
Fuel pump goes in a pacman shaped bracket with no clear idea how it fits etc, it transpires it’s just drilled a couple of holes through and in my case rivnutted to a chassis rail, the only fun was getting it to line up to avoid wishbone bolts as best possible and still be central in the rails, looks okay though.
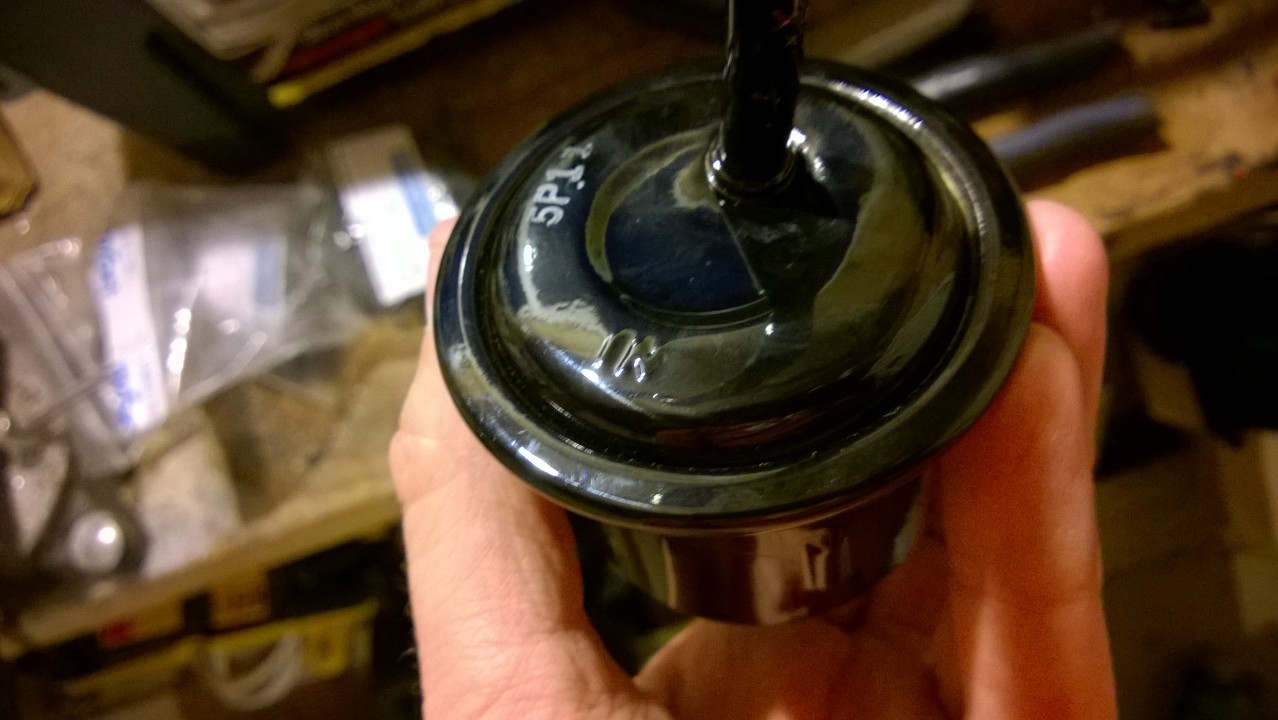
Fuel filter was a new purchase from MX5 parts (OEM part) and then I found the bracket was still on the donor car in Devon, doh. After much perusing I found it near impossible to find a replacement second hand so took a punt on Littlewick green Mazda near me – £6 for a new bracket – some stuff seems robbery (gaskets, bolts) but things like that are very reasonable, odd. Either way, a shiney fuel filter bracket.
A couple of things of note here, I just fitted the bracket as per a few pictures, but if you look really closely on the filter there is an IN and an OUT, the manual of course doesn’t call this out, and in any normal mazda application you can’t get it wrong – for these builds you could…
In my installation of the filter I’ve then gone on to reshape (bend, kink etc) the pipe that goes in and out of the fuel filter to angle the very specific directions of pipe. Hopefully this should be fine.
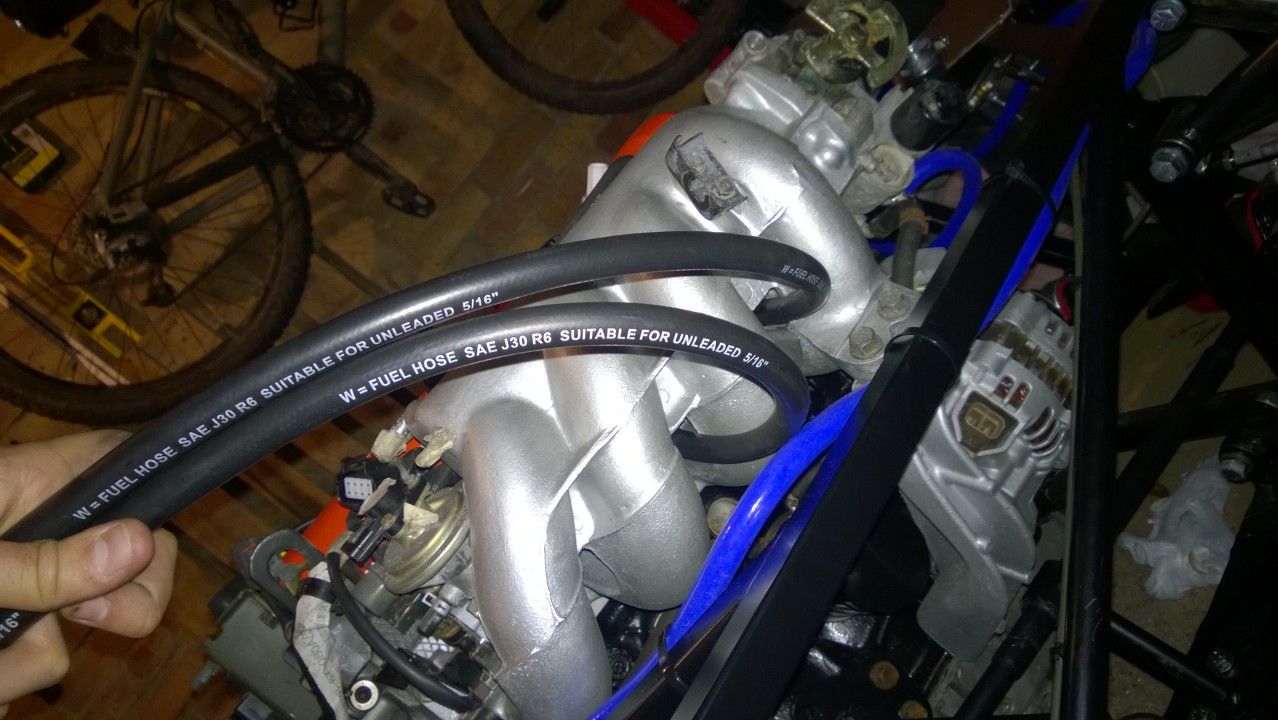
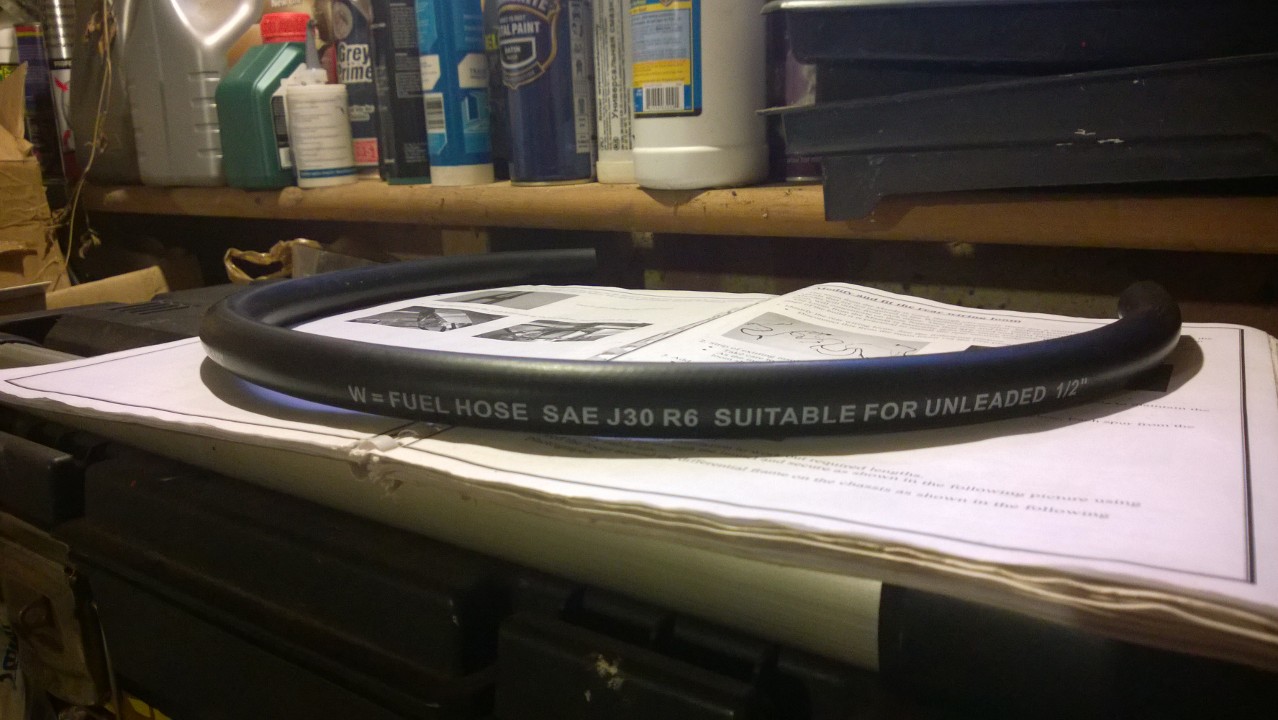
Finally I’ve cracked on with routing the fuel hose, the front two are pretty easy – after buying some very long nose pliars – I don’t know how i’d remove the clips off the fuel rail without…
At the back, tank out, tank return, the right pipes, filter, pump etc could be a bit spaghetti but just trying to get the most sensible route, my first step was turning the fuel filter around!
anyway, here’s some pics…
next big thing is going to be electrics – that I am not looking forward to…